


From Stains to Strength: How to Fully Repair Water Damage on Your Ceiling the Right Wa
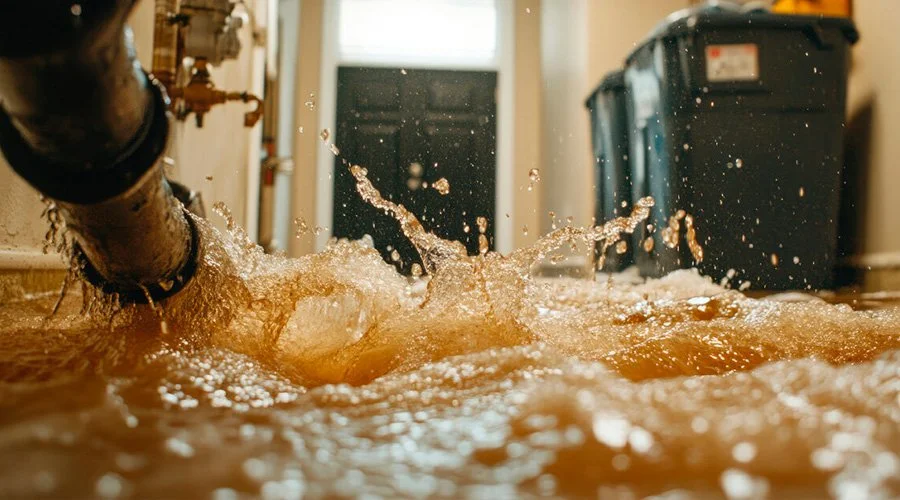
Water damage on your ceiling can quickly turn a small issue into a major headache. Stains, sagging, and potential mold growth are all signs that immediate action is necessary. Repairing water damage isn’t just about aesthetics—it’s about restoring the strength and safety of your home. Here’s a detailed, step-by-step approach to fully repair water damage on your ceiling the right way.
1. Identifying the Extent of Water Damage
The first step in any repair project is understanding the scope of the problem. Common signs include water damage on ceiling repair:
-
Discoloration or stains on the ceiling surface.
-
Sagging or bulging areas indicating moisture saturation.
-
Mold or mildew growth, which can pose health risks.
Once identified, it’s crucial to determine the source. Leaks may originate from a damaged roof, plumbing issues, or condensation from HVAC systems. Always take safety precautions when inspecting ceilings, such as wearing protective eyewear and avoiding standing under heavily sagging areas.
2. Stopping the Source of Water
Before any repair work begins, stop the water at its source. Address roof leaks, faulty pipes, or HVAC condensation problems. Temporary measures like tarps or buckets can prevent further damage while permanent solutions are implemented. Without addressing the source, any repair will only provide a short-term fix.
3. Preparing the Area for Repair
Repairing a ceiling requires clearing the area. Remove any loose paint, damaged drywall, or insulation. Protect your floors and furniture with drop cloths. Essential tools and materials include:
-
Drywall sheets and joint compound
-
Putty knife and sanding tools
-
Primer and paint suitable for ceilings
Preparation ensures a smoother repair process and minimizes potential mess.
4. Drying and Treating the Ceiling
Moisture must be thoroughly removed to prevent future problems. Use fans, dehumidifiers, and proper ventilation to dry the area completely. If mold or mildew is present, treat with an appropriate cleaner or antifungal solution. Rushing the drying process can result in recurring damage or structural weakness.
5. Repairing Structural Damage
After drying, address structural issues. Cut out any severely damaged drywall or plaster and replace it. Reinforce weakened sections to ensure ceiling stability. Smooth the surface with joint compound and sanding for a uniform appearance. Proper structural repair is critical for both safety and longevity.
6. Sealing, Priming, and Painting
Once repaired, seal the ceiling with a stain-blocking primer to prevent discoloration from previous water damage. Select moisture-resistant paint for areas prone to humidity. Apply paint evenly to achieve a seamless finish that restores the ceiling’s original appearance.
7. Preventative Measures for the Future
Prevent future water damage by:
-
Regularly inspecting your roof and plumbing
-
Improving ventilation in moisture-prone areas like kitchens and bathrooms
-
Considering waterproof coatings for added protection
Proactive measures save time, money, and stress in the long run.
Conclusion
From identifying water stains to reinforcing weakened ceilings, a methodical approach ensures that your repairs are not just cosmetic, but lasting. Water damage can compromise your home’s structural integrity if ignored, so timely action is essential. When in doubt, professional assistance can guarantee safety and quality results. Protect your home, restore your ceiling, and move from stains to strength.
الأقسام
إقرأ المزيد
🌐 CLICK HERE 🟢==►► WATCH NOW 🔴 CLICK HERE 🌐==►► Download Now https://iyxwfree24.my.id/watch-streaming/?video=thailand-hilux-viral-girl-original-video Oct 2, 2025 · Thailand Hilux viral girl video has taken social media by storm 🚨🔥 — the clip just broke the internet and millions can’t stop watching it. This viral moment from Thailand is trending Oct 18, 2024 · Enjoy...

The global electrical conduit market is experiencing significant growth as investments in modern infrastructure, commercial construction, industrial facilities, and energy projects continue to increase worldwide. The global electrical conduit market size was valued at USD 8.5 billion in 2025 and is projected to grow from USD 9.1 billion in 2026 to USD 15.1 billion by 2033, at a CAGR of 7.6%...

Public spaces need strong attractions to draw crowds today. Standard parks do not excite modern families anymore. People want immersive entertainment close to home. Property developers use water, light, and sound to create unforgettable experiences. A beautiful Musical Fountain transforms an ordinary plaza into a vibrant community hub. It blends engineering with artistic design to captivate...

Accurate measurement has become increasingly important as industries focus on process efficiency, resource conservation, automation, and real-time operational visibility. The flow meter market was valued at USD 11.4 billion in 2025 and is estimated to reach USD 12.1 billion in 2026. It is projected to reach USD 18.0 billion by 2033, expanding at a CAGR of 5.8% from 2026 to 2033. Rising adoption...

Outback Power Struggle Set against the rugged and expansive landscape of Australia’s northern frontier, territory offers a gripping glimpse into a high-stakes struggle for dominance. The story revolves around a sprawling cattle estate facing a critical crisis—an apparent lack of an heir sparks a fierce rivalry within a powerful family. As tensions escalate, the series reveals a...
